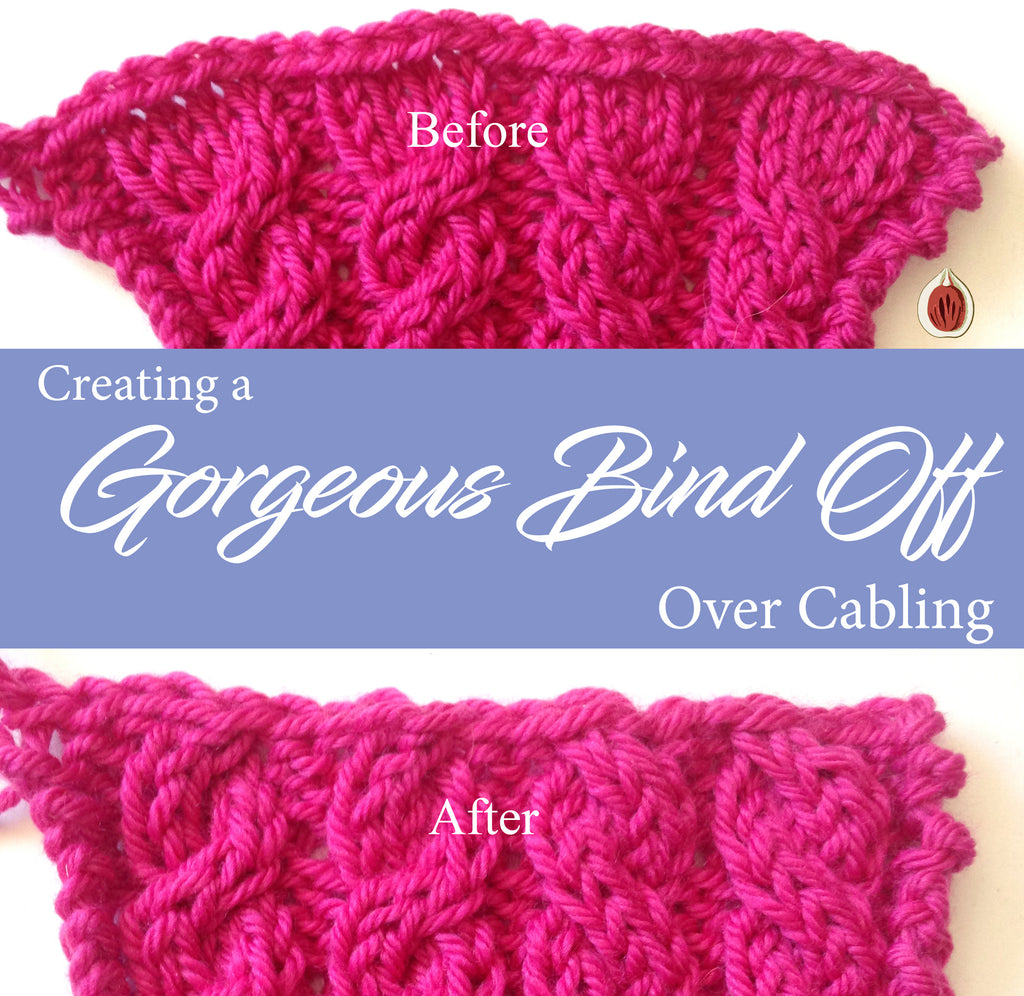
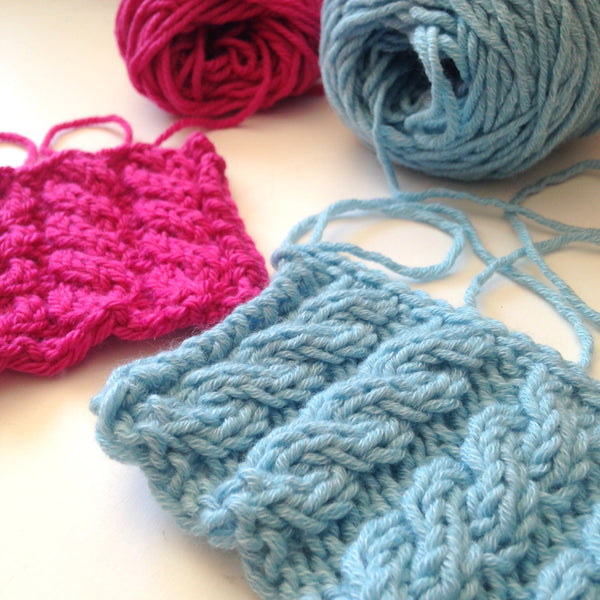
Creating a Gorgeous Bind-Off Over Cabling

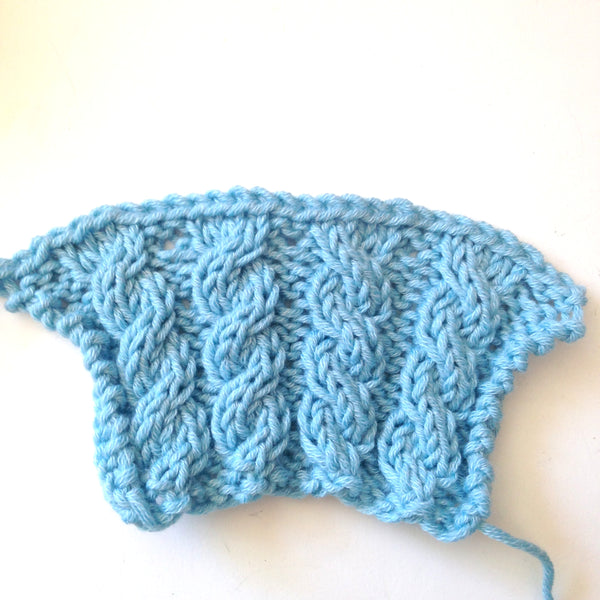
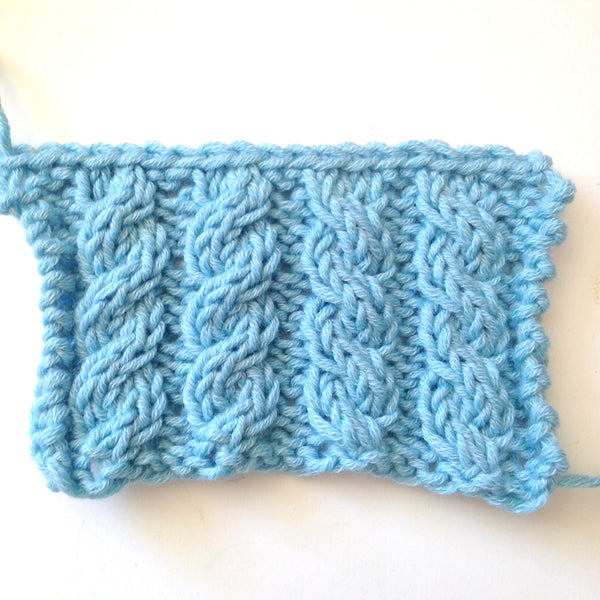
Have you ever noticed how it takes many more cabled stitches than knit stitches to create the same amount of width in a knitted piece? This is because stitches for the cables are not actually "in" the knitting, they are skimming over the surface of the knitting and do not contribute to the overall width of stitches present in the garment. Since those cabled stitches are sitting on top of the other stitches, they can create a bulge or bump in a bound-off edge, which in turn can make seaming a shoulder or picking up stitches around a neckline more challenging and less polished. The solution is to work a decrease across the cable stitches equal to the number of stitches that are used for the cabling and bind off. If you are binding off on a pattern row, the solution in that case is to work the cable and the bind off at the same time.
How to Create a Gorgeous Bind-Off on a Cabling Row
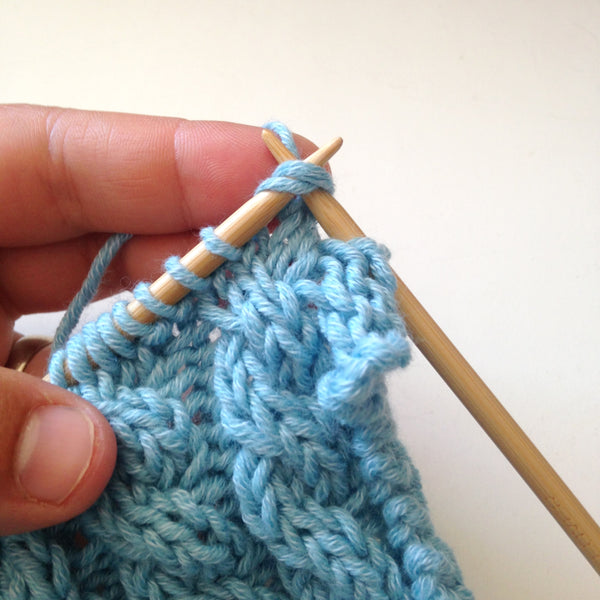
Bind off stitches until you are ready to work the first stitch of the cable. Cross the cable without knitting the stitches. If you are working with a cable needle, slip the stitches as usual to the cable needle; instead of knitting the stitches, just slip them to the right needle tip, replace the stitches from the cable needle, and slip all remaining cables stitches back to the left tip.
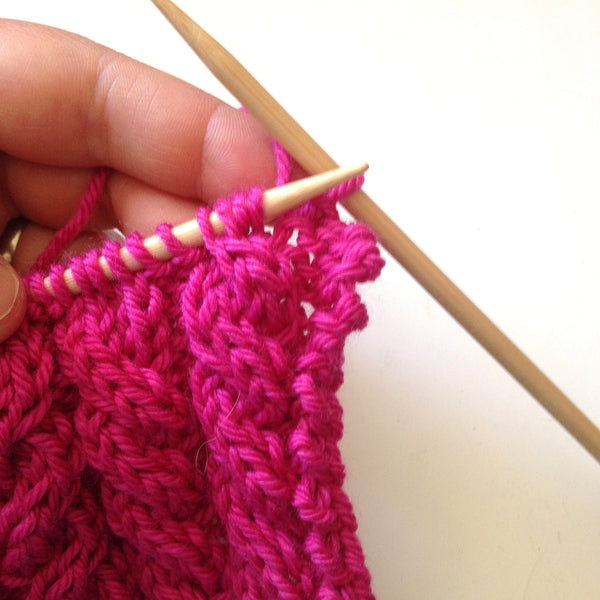
Your stitches should look crossed on the left tip in whichever direction the cable is supposed to go.
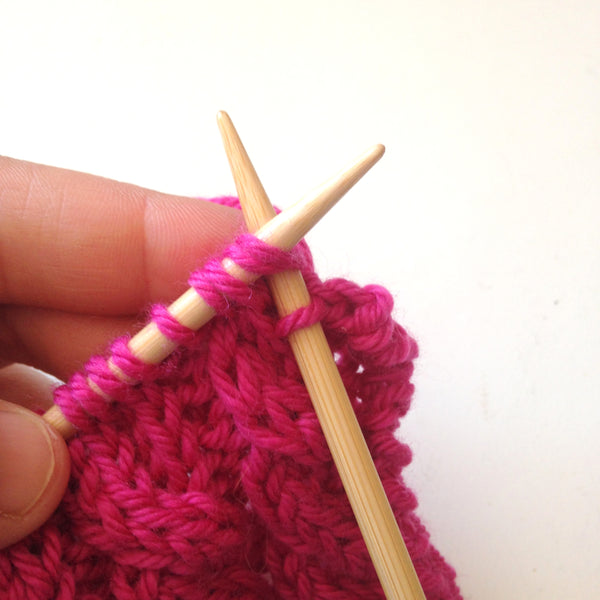
Now you will decrease the number of stitches that are crossed over the work when the cable is worked normally. This means that for a 2/2 LC (2 over 2 Left Cross cable) you typically cross two stitches over two stitches, so you will be decreasing two stitches. At the same time you will be binding off the stitches; using the 2/2 LC cables as the example, work this section as follows:
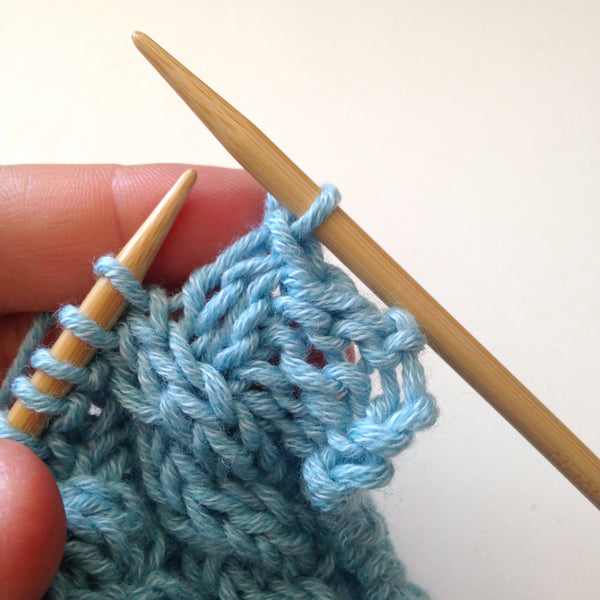
[K2tog, slip the 2nd stitch on the right needle tip over the first stitch on the right needle tip] twice.
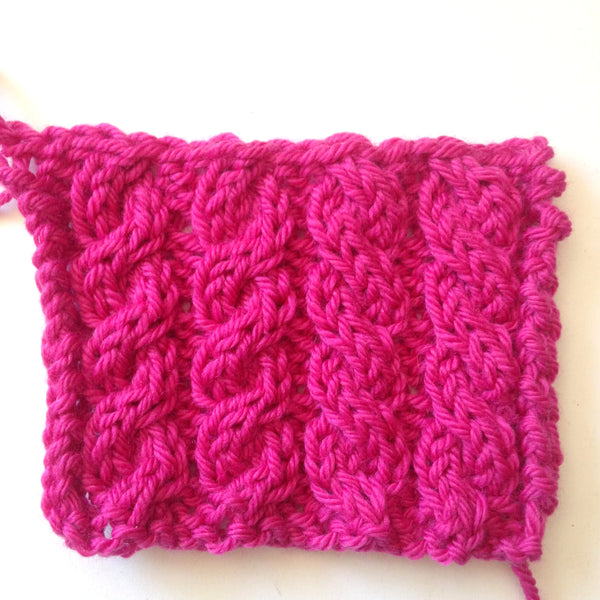
Continue binding off across the remaining stitches until you arrive at the next cable, cross the stitches, and decrease while binding off.
How to Create a Gorgeous Bind-Off on a Non-Cabling Row
If your bind off happens on a non-cabling row, but cables have been worked on the previous right side row, then you will want to skip the crossing of the stitches but still work the decrease.
Bind off stitches until you are ready to work the first stitch of the cable.
[K2tog, slip the 2nd stitch on the right needle tip over the first stitch on the right needle tip] twice (or as many times as needed). TIP: Always bind off the same number of stitches as the cable crosses, so if the cable is a 3/3 Cross, bind off three stitches. If the cable is a 5/2 Cross, bind off five stitches. Those stitches that sit on top of the work are responsible for pushing the edge out and creating the wave.
Continue binding off across the remaining stitches until you arrive at the next cable and decrease while binding off.
Have a question? leave it in the comments section below and I will get back to you, - Happy Knitting, Meghan


Julie
I’m knitting a drop shoulder sweater, how do I match my cables over the shoulder with the front & the back? Do I finish on the same pattern row before binding off?
Kind regards Julie