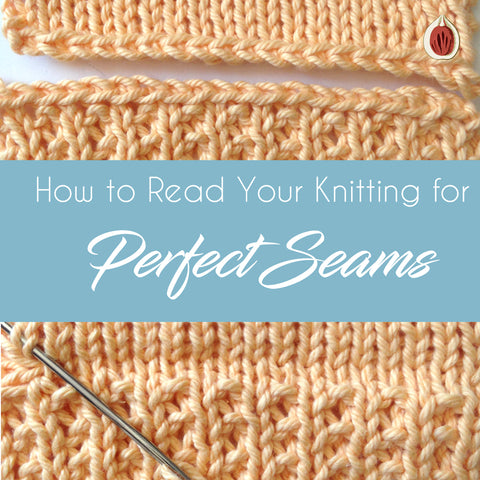
Have you ever knit a garment where the fronts and backs are a different pattern? Or maybe tried to join a cable panel to a stockinette section and the difference in stitch count leaves you confused as to how to properly seam it? I have a neat trick to show you that can help with seaming those stitch count inconsistencies!
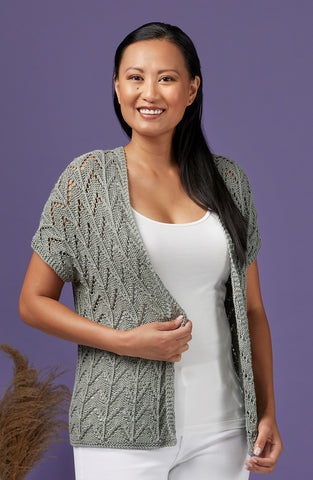
Lotusland Cardigan
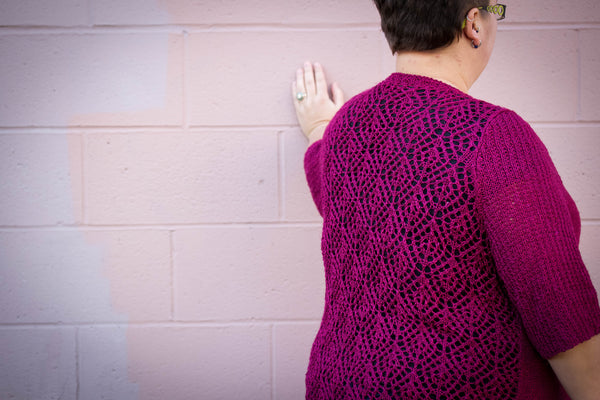
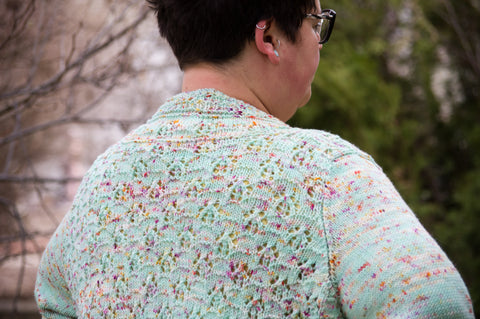
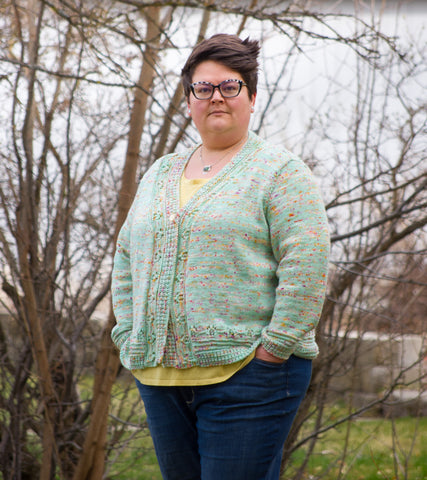
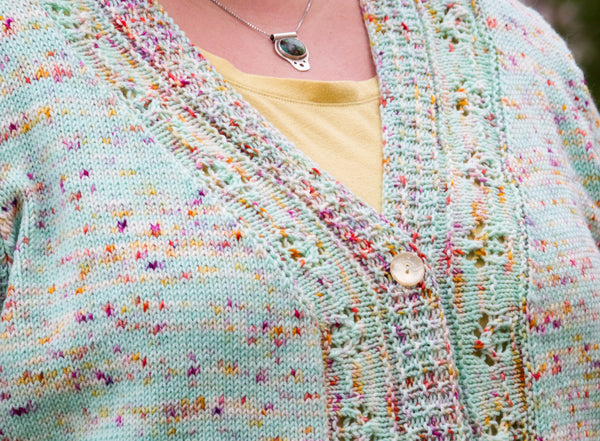
Lately, I've been really into designing patterns with a totally different pattern on the back from the fronts. Usually, the pattern has a completely different stitch count and gauge so even though the shoulder pieces are the same size they are actually a different stitch count. This means seaming the two together can be challenging since to get the two pieces to line up you need to use more stitches on one piece than the other. The Lotusland Cardigan is just such a pattern, the back is worked in an all over texture and lace pattern while the upper fronts are worked with mostly stockinette. The whole sweater uses a dreamy speckle superwash DK from Twisted Owl Fiber Company and I love the flashes of bright orange and pink in the aqua background.
How to Calculate the Difference
First, just a little bit of math so we can figure out how many more stitches are on the one piece, how many double joins to work and how frequently to work them.
Start by:
1. Taking the larger amount of stitches to be joined and minus the smaller number of stitches to be joined = "the number of double joins needed"
2. Now take the smaller number of stitches to be joined and divide them by "the number of double joins needed" = "the number of stitch sets for each double join"
3. Next, take away 1 from the number of each stitch set= stitches to work evenly between double joins.
4. *You will work that many even stitches and then work 1 double join; repeating from * for as many double joins as needed total.
If you have a partial number like 3.5 you will need to work a combination of either 3 stitches and 4 stitches to create the join. Read the example below for how to do this.
Lotusland Seam Example
The back shoulder for the example has 18 sts and the front shoulder (stockinette) has 22sts, that means there is a difference of 4 sts.
- Take the smaller number and divide it by the stitch difference = 18 sts / 4 double joins = one double join happens approx every 4.5 stitches,
- Minus 1 stitch from this number to use for the double join = 3.5
- 3.5 won't work so use a combination of 3 and 4
So far we have a seam that looks like: Work 3 even, work 1 double join, work 4 even, work 1 double join, work 3 even, work 1 double join, work 4 even, work 1 double join, = 18 sts used on back, 4 double joins on front
Let's move at least one stitch from the front of the row to the back so we don't have a double join right at the edge
Now our seam looks like: Work 2 even, work 1 double join, work 4 even, work 1 double join, work 3 even, work 1 double join, work 4 even, work 1 double join, work 1 even = 18 sts used on back, 4 double joins on front.
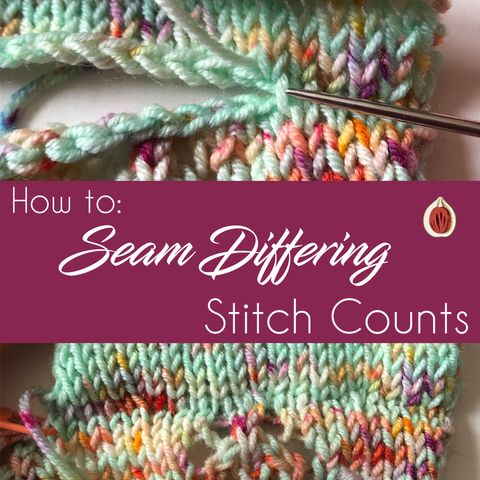
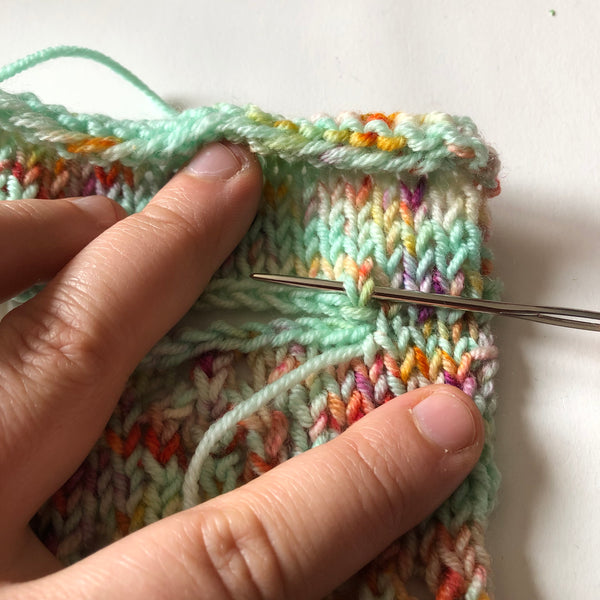
The Double Join Technique
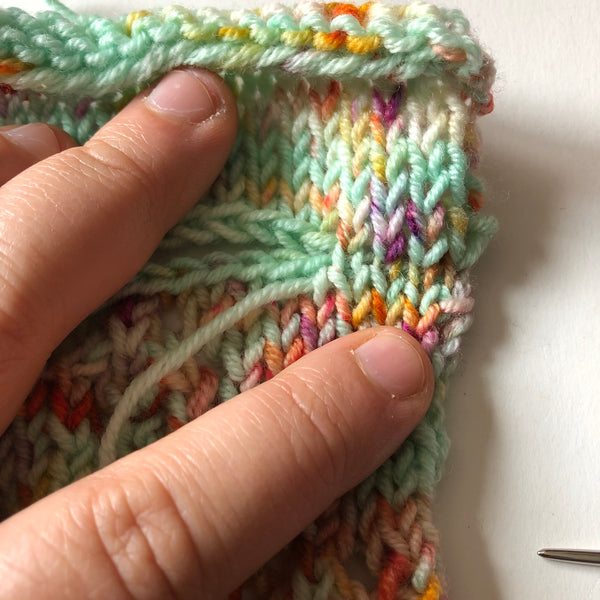
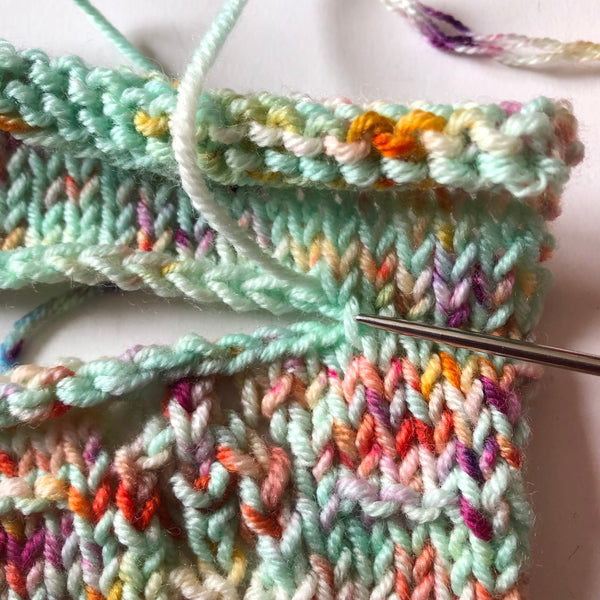
Start by working the first set of even stitches together, making sure to join the same number of stitches on the top piece and the bottom piece ending with the needle coming out of the center of a 'V' on the bottom.
Count one top stitch (needle under both 'V' legs) and one bottom stitch (needle into center of 'V' and out of following center of next 'V') as "1" stitch, so work the top and the bottom for each stitch you have calculated to be worked evenly.
If you need a refresher on how to work a join for a seamless look take a look at this article before continuing.
Now coming out from the center of the 'V' on the bottom bring the needle into the first stitch on the top from right to left under both legs of the 'V'.
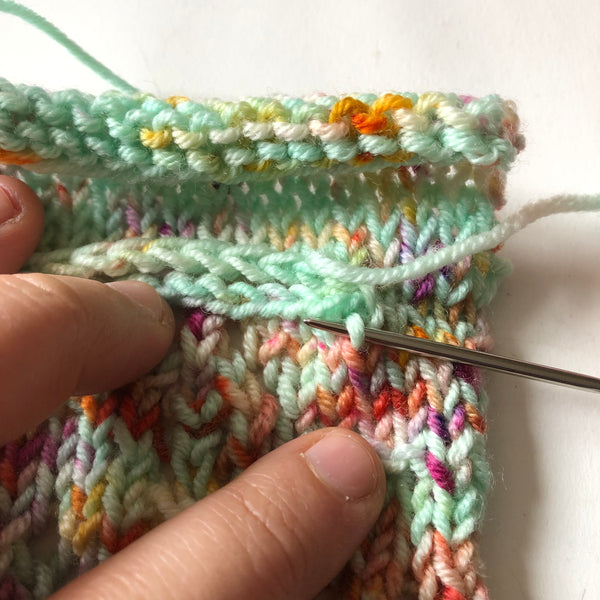
Then bring the needle down through the center of the 'V' on the bottom piece (where it came out of) and under just the left leg of the 'V', this is a half stitch on the bottom.
Bring the needle behind both legs of the 'V' for the next stitch on the top from right to left.
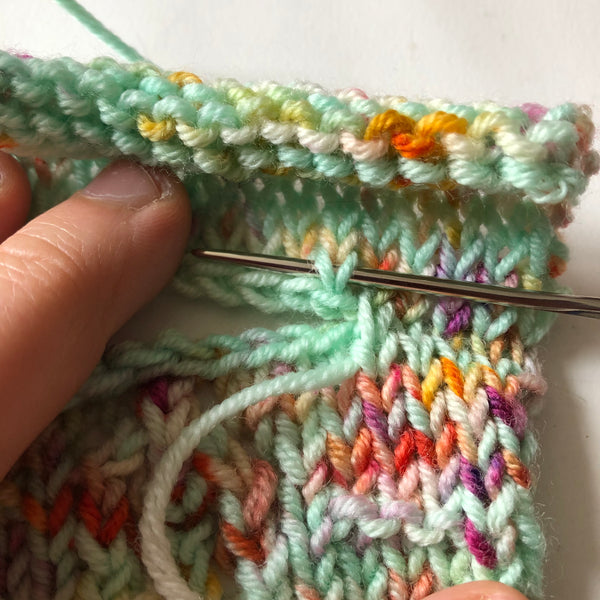
You can see that this is where the yarn came out from the bottom when we worked the half stitch.

The needle is going to go back into the center of the 'V' on the bottom, (see above)
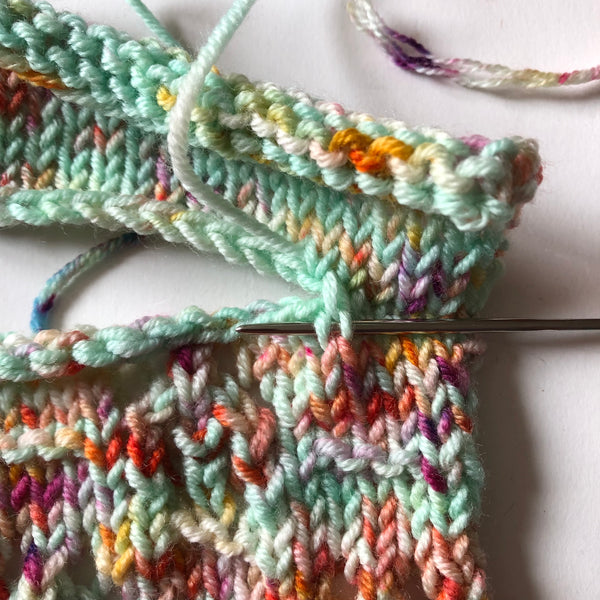
But this time we are going to work a whole stitch so we will go behind the left leg of the 'V' and the right leg of the next 'V'.
Now we have completed a double join, you can see that there are two stitches on the top section that are attached into a single 'V' stitch on the bottom.
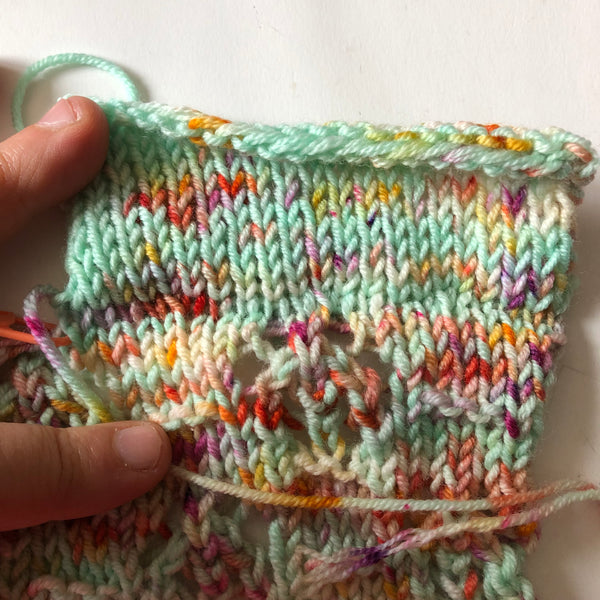
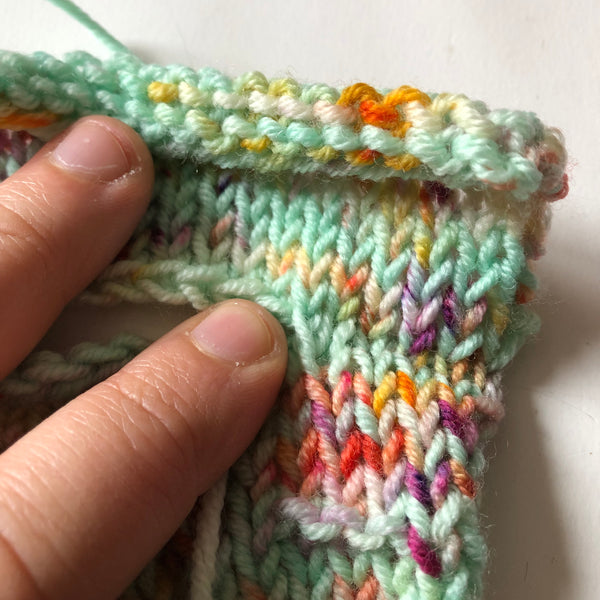
Continue to work across the seam using as many evenly worked stitches as needed in between the double joins. As you can see the double joins are well hidden within the seaming.
I hope you enjoyed this tutorial, get your copy of the Lotusland Cardigan today!
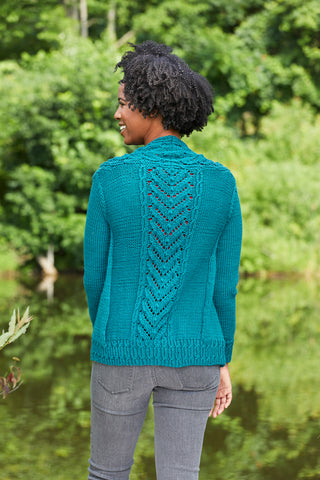
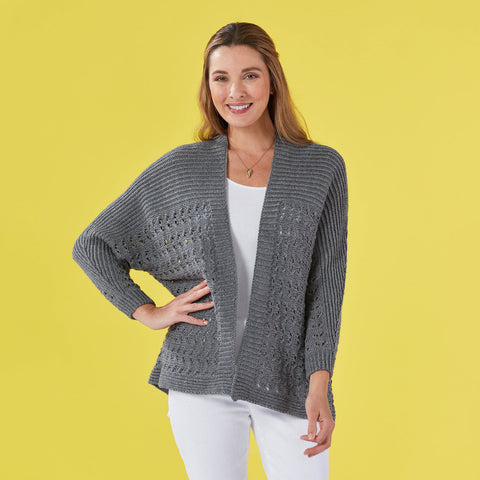
Want to try another Cardigan pattern with stitch count differences in the seams? Glassberry is a seamed cardigan with a Lace back and textured accents. The shoulders seams have differing stitch counts and would be perfect for practicing this tutorial!