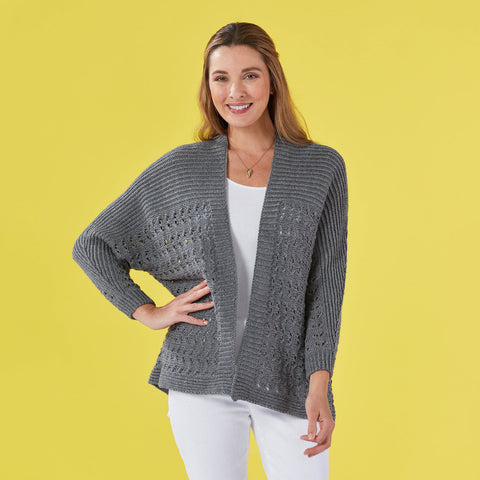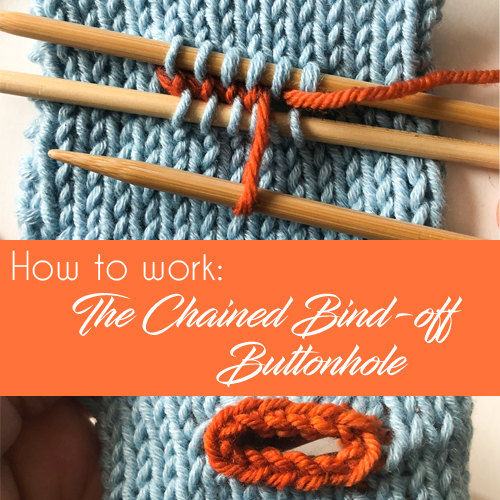

Buttonholes are a utilitarian part of knitting that, in conjunction with buttons, perform the function of keeping a garment or accessory fastened together. This does not mean that buttonholes need to be simple or plain, but it does mean that they require a certain level of stability, especially if larger buttons are desired on the finished piece. The chained bind-off buttonhole is both visually attractive and superior in stability, making it a sturdy addition to any piece that will receive a rough-and-tumble workout (children's garments perhaps?). This buttonhole is worked with an opening using waste yarn, very much like an after-thought heel on a sock, or a thumb on a mitten. Then stitches are worked for one single round before being bound off for an attractive chained edge. For this tutorial the buttonhole is worked with a contrasting color to better exemplify the steps.
How to work it:
Begin by working to the area that requires a buttonhole. For this example, six stitches will be worked as the buttonhole. If this method is being employed into a pattern that asks for a different kind of buttonhole it is advisable to practice on a swatch to ascertain the correct number of stitches that should be worked for the buttonhole prior to creating one in the garment. Work across the desired number of stitches for the buttonhole using waste yarn; using a contrasting color makes it easier to see.

Slip the stitches; just knit with the waste yarn back to the right needle and knit across them again with the active yarn. Leave the ends of the waste yarn at the back of the work. There is no need to secure the ends since the waste yarn will be removed in the making of the buttonhole. A smooth, round yarn is the best kind to use for waste yarn since it will need to slide out of the stitches when they are placed on double-point needles to work the buttonhole. Do not use a very slippery yarn like rayon or a very sticky yarn like mohair -- one will slide out on its own and the other will never come out!

Finish working the swatch or garment, then, using double-point needles, pick up the stitches below the waste yarn from back to front through the front leg (right-hand side) of each stitch or "V."

For this example you can see the six stitches below the waste yarn are now on the needle.

Pick up each stitch above the waste yarn in the same manner, inserting the needle from back to front into the right-hand side leg of each "V."

Using a third needle, unpick the waste yarn from the work, gently teasing out the leg of each "V" stitch to leave the live stitches on the needles.

Now there are two sets of six stitches, one set on the top needle and one set on the bottom.

Using the active yarn (in this photo it is the orange yarn) pick up and knit one stitch into the gap before the bottom needle. Knit across the bottom needle with the active yarn, pick up and knit one stitch into the gap at the end of the first needle and beginning of the second needle. Knit across the remaining stitches on the second needle. You will need to employ two additional double-point needles for this step.

There should be one complete round of stitches worked around the buttonhole, two more stitches than were originally set aside. In this example, there were six stitches on each needle for a total of 12 stitches and two additional stitches picked up for a grand total of 14 stitches worked around.

Continuing to work in the round, bind off all the stitches with a standard bind-off. Try to keep an even tension on the stitches. This is the part that really lends strength and stability to the opening, and it also gives a braided look to the finished buttonhole.

Cut the yarn and, using a tapestry needle, sew the end to the beginning of the bind-off. Insert the needle underneath the two vertical lines of the "V" made by the first bound-off stitch. Then insert the needle back into the center of the "V" made by the last bound-off stitch.

Finally, bring the yarn ends to the back of the work and weave in to secure.